Dungeon Guide: Co-op Runs, Floors and Bosses
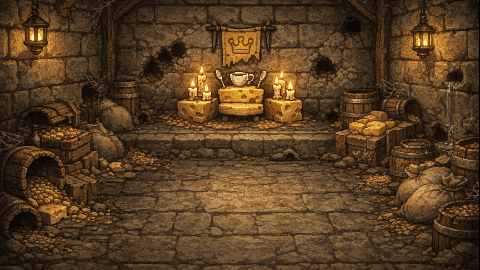
The Dungeon is Fatevale’s co-op dungeon: your hero and your company mates go down together on an eight-hour run and try to clear three floors and three bosses. Every hero has their own Dungeon timer; you can go down again three days after your last run. The Dungeon unlocks at level 10.
You can invite up to three company mates whose timer is ready; an invite is valid for three hours. Sir Kaspar’s mercenaries fill any empty slots. Mercenaries are only 70% as strong as a real hero and vote for themselves in the loot vote, so going with friends is always more rewarding.
Roles
| Role | Job | Natural classes |
|---|---|---|
| 🛡 Vanguard | Stands in front and takes the blows. Weighted toward defense and health. | Knight, Druid |
| ⚔ Striker | Deals damage to the boss. Weighted toward attack. | Archer, Mage |
| ✚ Support | Binds wounds, shares potions, spots traps. Luck and speed help. | Druid, Mage |
Formations
The team picks a formation for each floor. Formations follow the same circle as duel stances: Fortress beats Assault, Assault beats Rover, and Rover beats Fortress. The formation that counters the boss’s stance gives the team +12% power; the weak one gives −12%.
Floors and bosses
1. The Rat King's Hole
Boss: Rat King · Stance: Assault
- Rat Swarm Corridor: Swarms hate area attacks: archers and mages shine here. Without a Vanguard, the rats sneak around behind you.
- Cheese Traps: Spotting the traps takes a Support and some luck.
- The Cheese Throne: The Rat King is an attacker: the Fortress formation beats him. Swarm Call: summons new rats on turn 2; without a Vanguard the team is shaken.
2. The Lost Treasure Room
Boss: Rusty Armor · Stance: Fortress
- Ghost Guards: Arrows don't work on ghosts; magic and nature do.
- The Locked Treasure Door: Quick hands (speed) and a Support open the lock faster; a slow team grows tired.
- Rusty Armor: Rusty Armor is a fortress: the Wanderer formation finds its weak spots. Arrows bounce off, magic gets through. Iron Skin: its defense rises every turn; without at least 2 Strikers its armor can't be pierced.
3. The Well of the Sleeping Dragon
Boss: Shadow of the Ash Dragon · Stance: Rover
- Bridge of Ember Imps: A shield is a must on the bridge: without a Vanguard, the imps drown the team in fire.
- The Smoke Maze: Finding the way through the smoke takes luck and a Support.
- Shadow of the Ash Dragon: The Shadow is a wanderer that slips into the smoke and escapes: go at it with the Assault formation. Ash Breath: fire on the whole team on turn 3; without a Vanguard and a Support the team falls apart.
Rewards
Gold, XP, potions, Holy Coins, key fragments, Phoenix eggs and mounts go straight to each player. From the treasure chest on floor 2, one item per participant and one company egg per run drop into a shared pool; the team splits them by voting, just like the egg vote. If you go alone with mercenaries, everything comes straight to you.
Tips
- Bring at least one Vanguard and one Support to every floor; a missing role means a penalty in that section.
- Check the boss’s stance and pick the counter formation: Fortress against the Rat King, Rover against the Rusted Armor, Assault against the Shadow of the Ash Dragon.
- The “📊 Success guide” in the Dungeon window shows your chance on each floor and the team power needed for a 75–90% chance.
- Plan with friends whose timer resets on the same day: a friend whose timer is still closed cannot join the run.
Play Free
Last updated: October 8, 2026